Sorry, you need to enable JavaScript to visit this website.
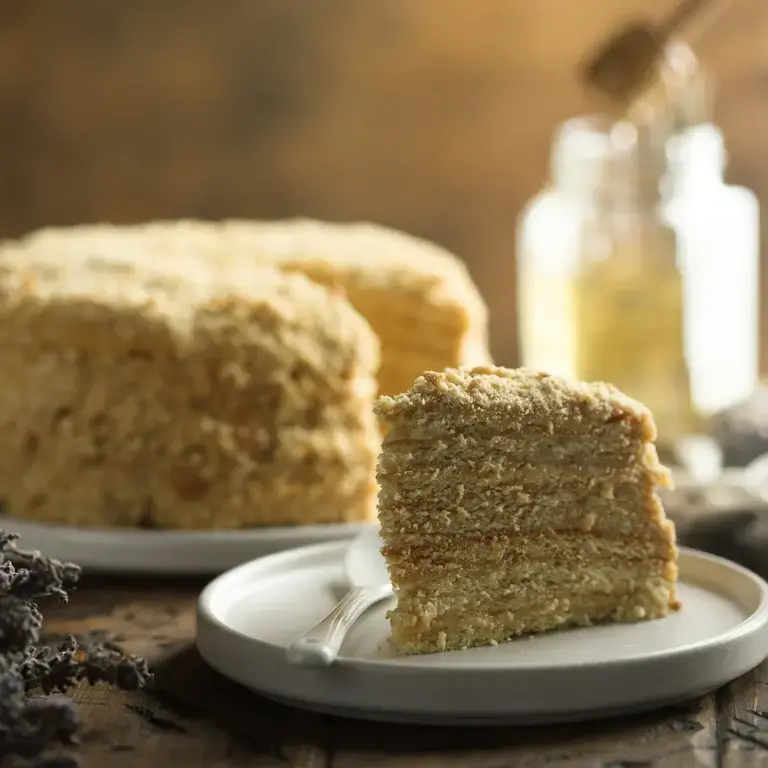
medovik

Photo: iStock

What is Medovik or Russian Honey Cake?

FDL
By
Fine Dining Lovers
Editorial Staff

Medovik - or Russian honey cake - was created in the 19th century in the Russian Empire. One day, a young confectioner in the Imperial kitchen - who didn't know the Empress Elizabeth Alexeievna, wife of Alexander I, couldn't stand honey - baked a new cake with honey and thick sour cream. Unaware of its honey content, Empress Elizabeth surprisingly fell in love with it.

What is Russian honey cake made of?

medovik-what-is

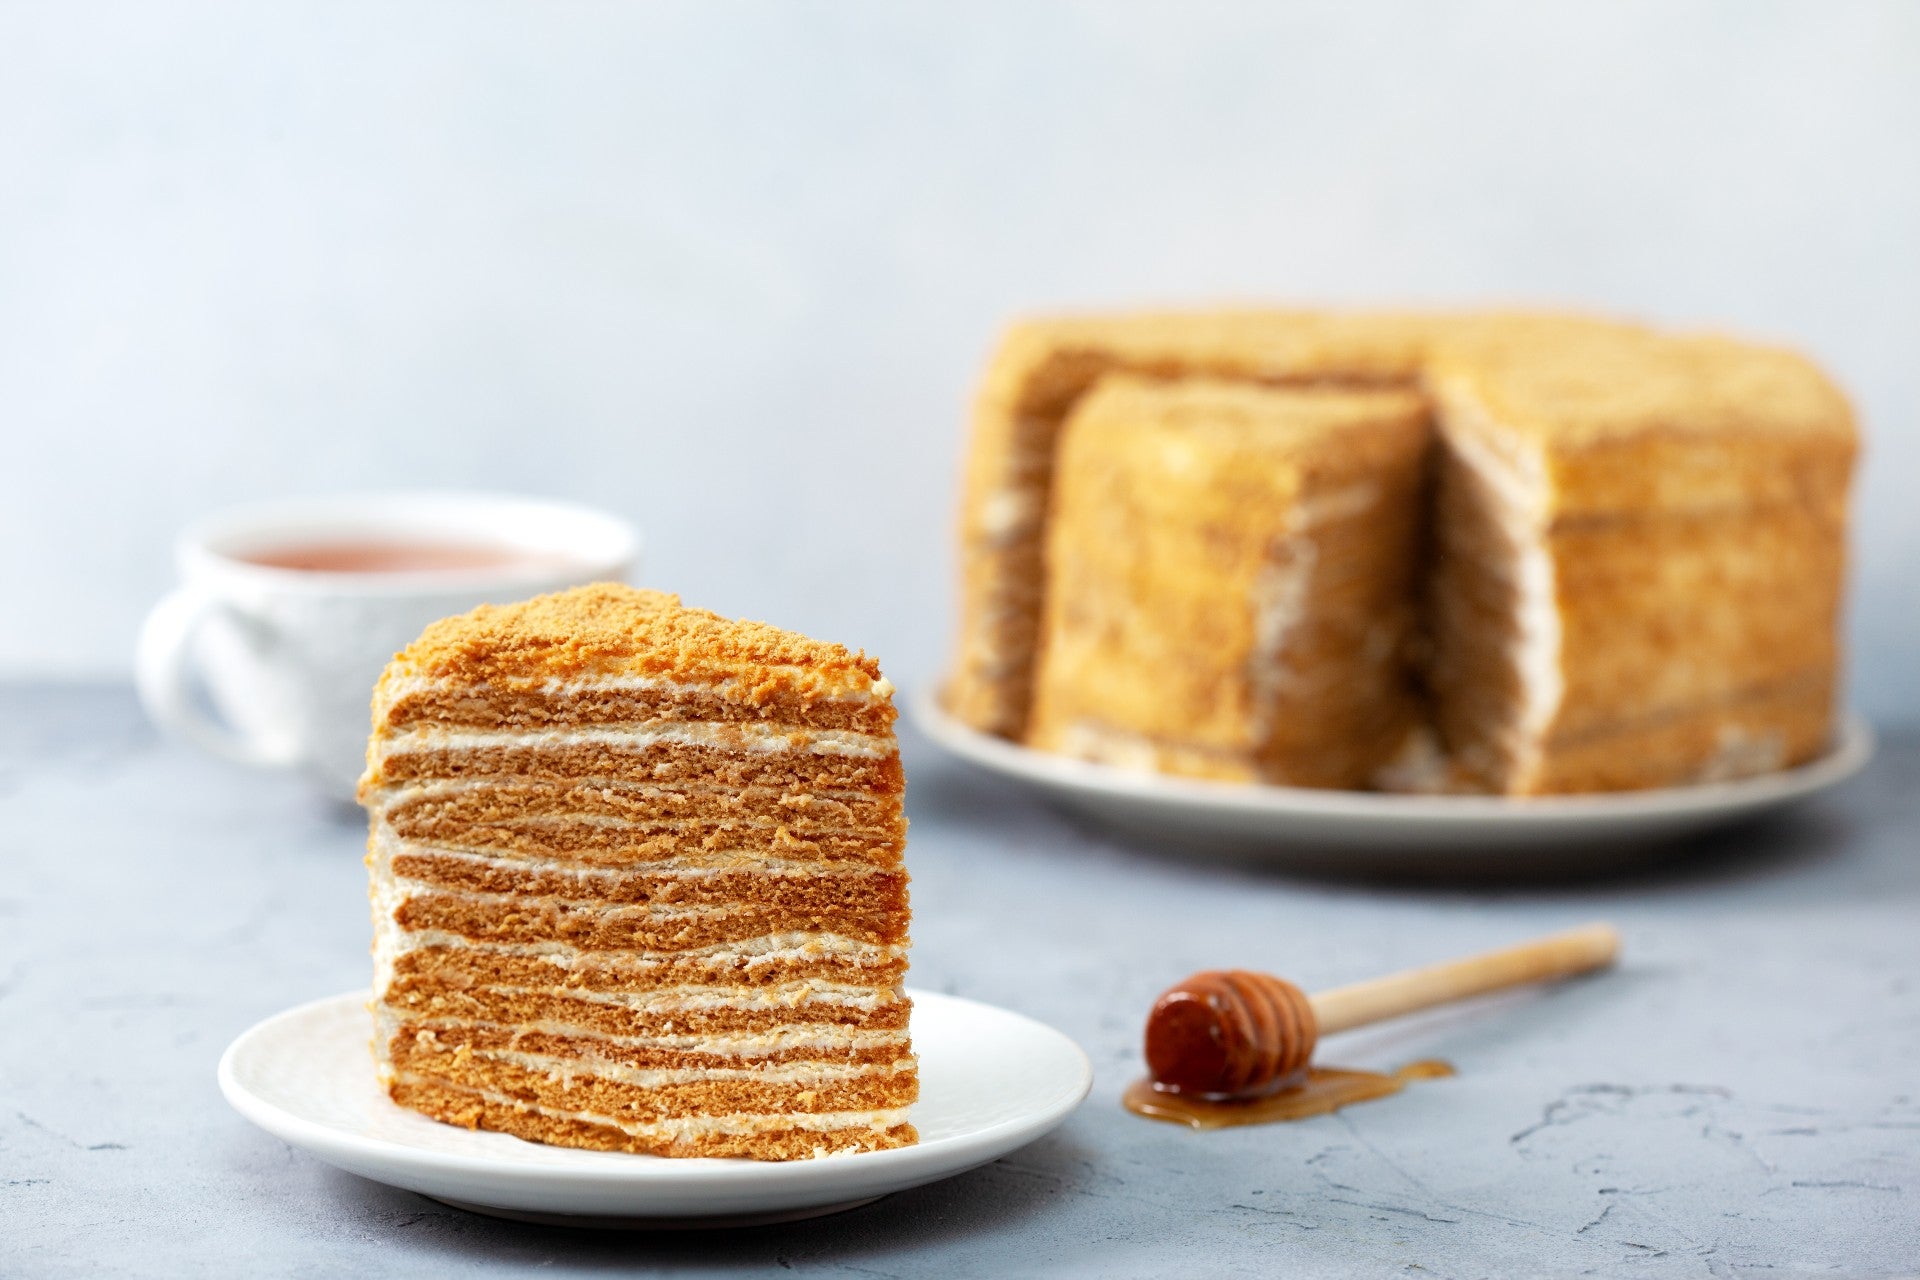
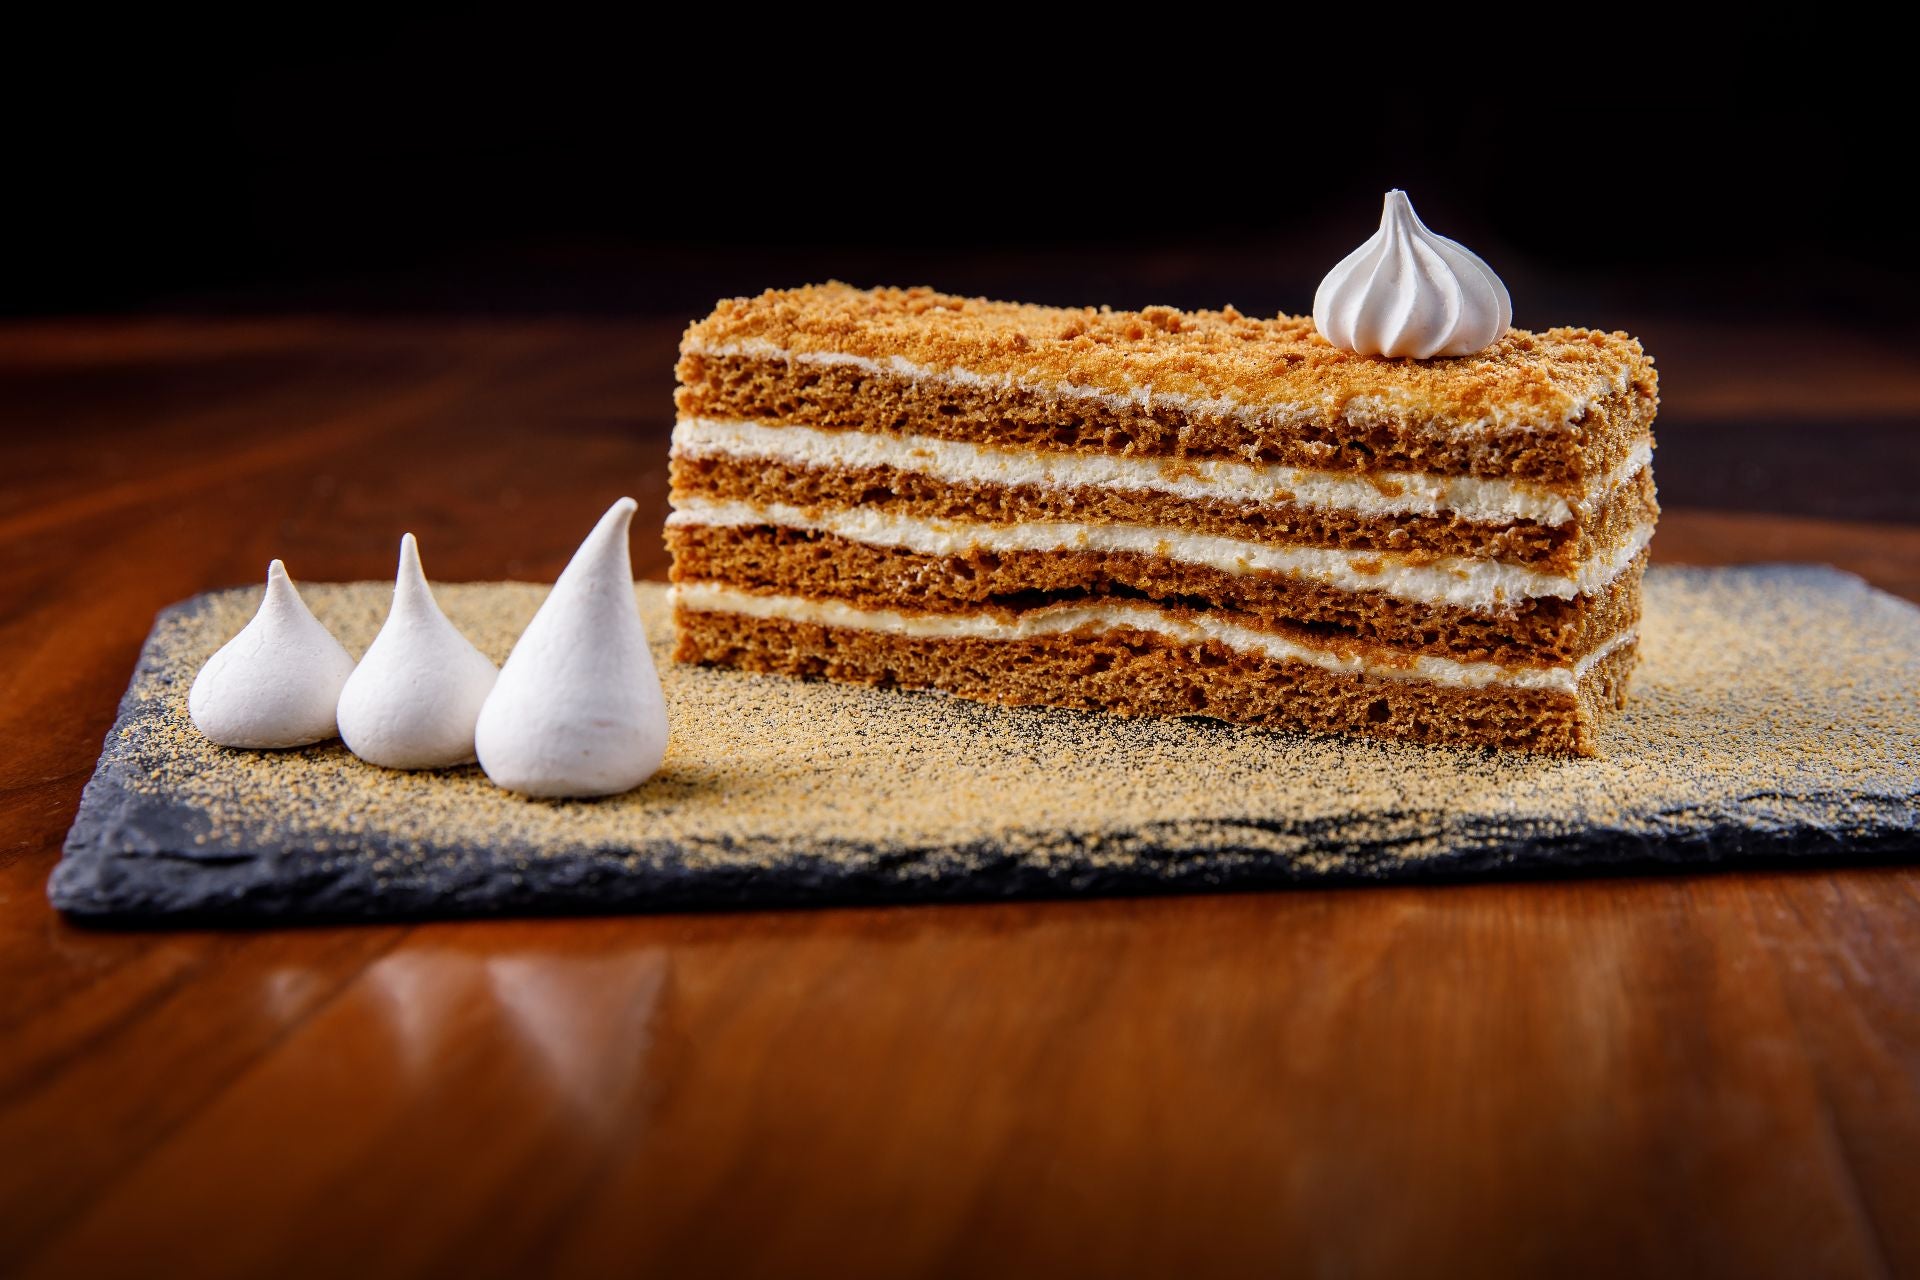
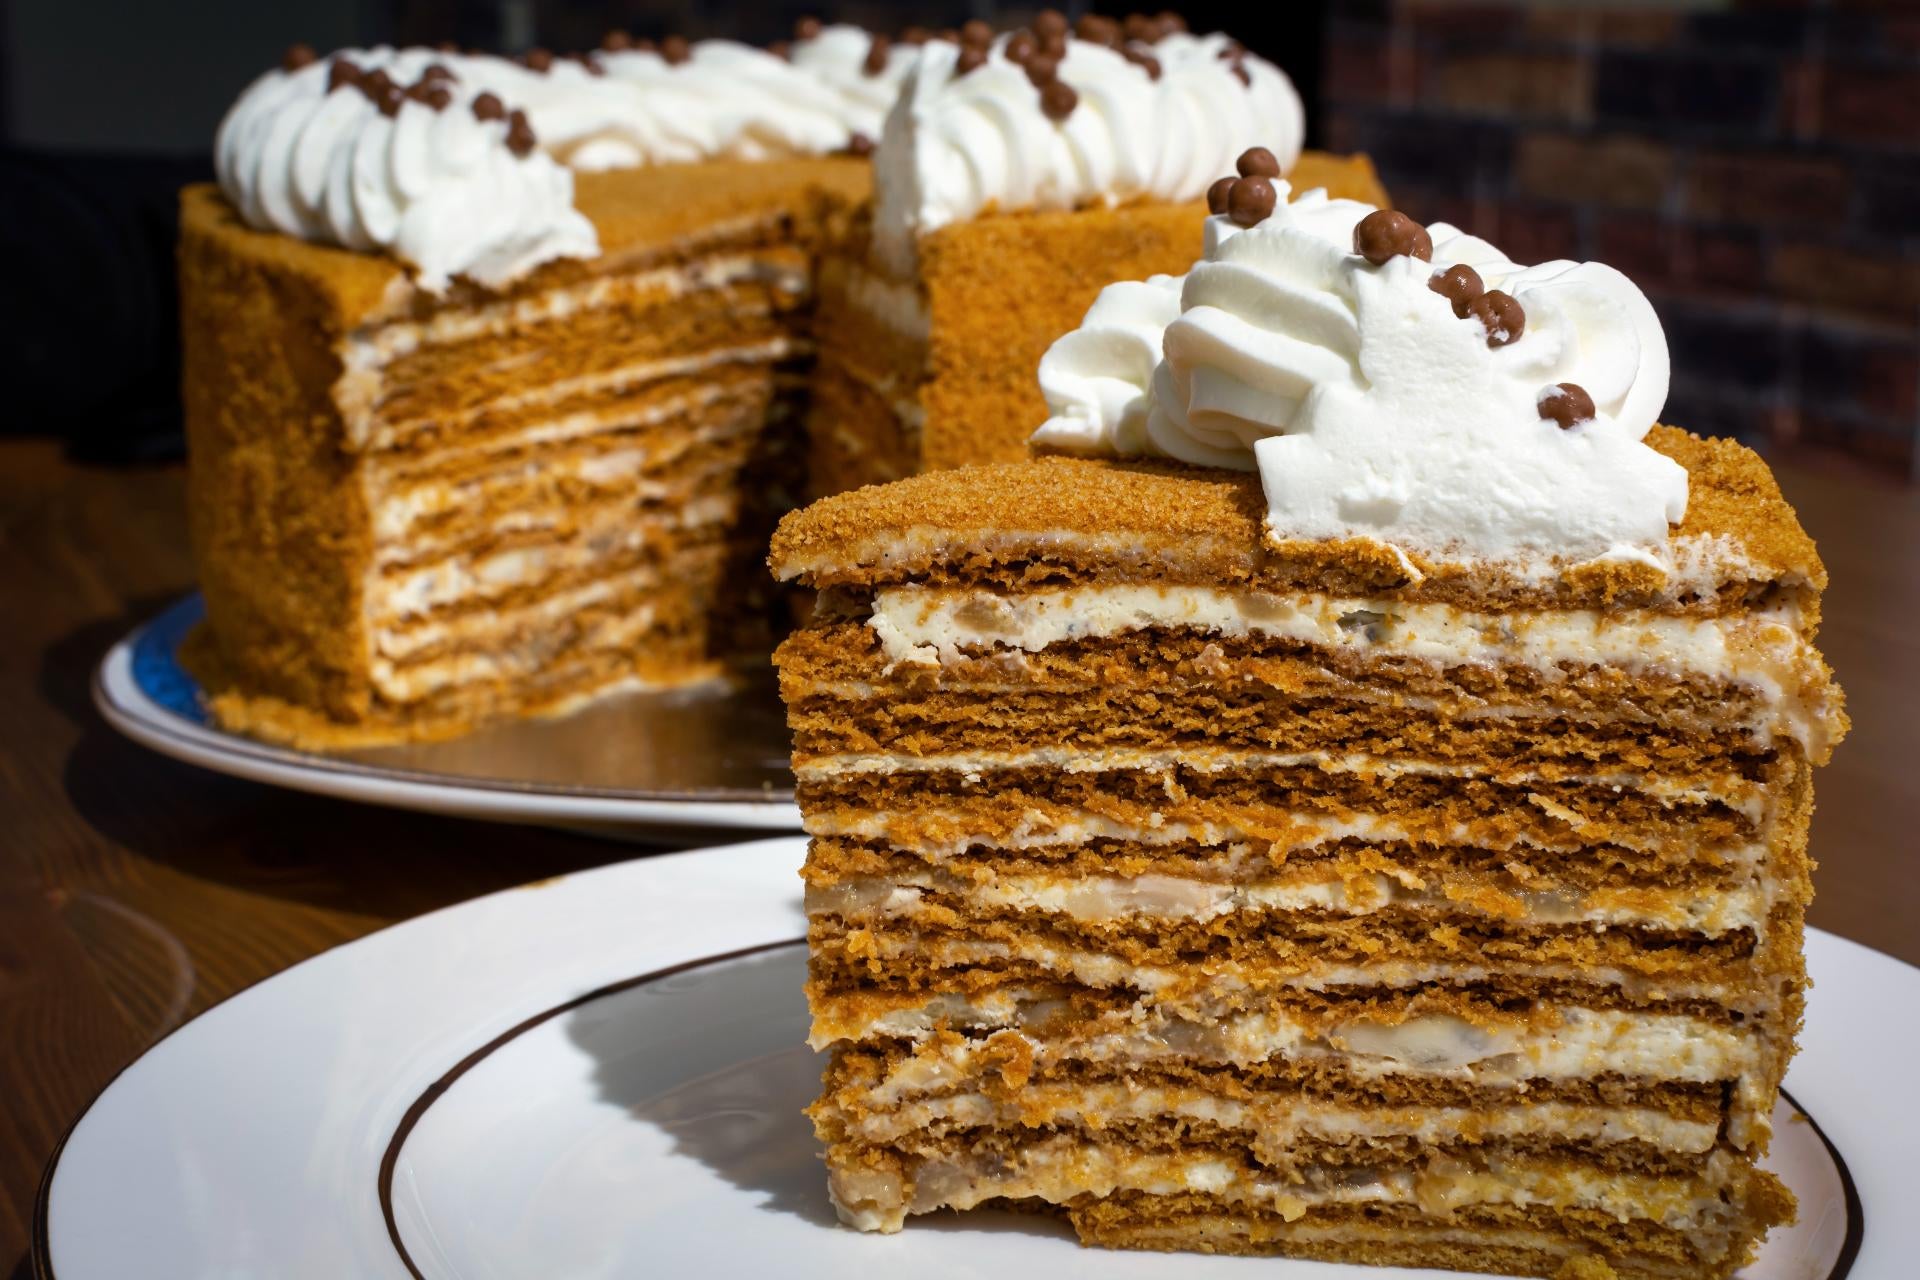
Medovik is a layered cake with notes of honey and caramel. Honey in Russian is 'med', so you can expect honey to be one of the dominant ingredients in this cake. Although only a few tablespoons are used, they add a very rich flavour to the cake. 

The original Russian medovik is made up of crispy and thin cake layers softened with a cream filling that is one part whipping cream and one part sour cream mixed with sugar and vanilla. Sometimes a filling made with butter and sweetened condensed milk is used. For some people, however, condensed milk is too sweet.

The rest of the ingredients are very common for cakes. Butter, sugar, flour, baking soda and vanilla make thin, cookie-like layers of Russian honey cake.

It should be noted that there are many variations of Russian honey cake recipes, but they all have two things in common: honey and sour cream.

One of the most famous and acclaimed versions comes from Michelle Polzine, owner and pastry chef of San Francisco’s 20th Century Cafe. Polzine’s Russian honey cake is an interpretation of the classic medovik torte. She adds more butter to the batter to create thin, spongy layers, and uses burnt honey. This honey adds a caramelised depth and a welcome hint of bitterness to the floral sweetness.

Tips for making Russian honey cake

medovik-tips

Your butter and cream cheese should be at room temperature, and your heavy cream should be very cold. As a result, whipping is much easier while also creating an awesome texture.

Don't overmix your frosting after you add the heavy cream to the cream cheese and butter. Overmixing the heavy cream can cause it to curdle. The moment stiff peaks begin to form, stop mixing the frosting.

If you want to skip out on the cream cheese or butter, feel free. If you remove the butter, compensate by adding more cream cheese and vice versa.

Cake layers can be made a week in advance. Be sure to wrap them tightly with plastic wrap and store them in a plastic bag until you're ready to assemble.

After assembling the cake, leave it to set in the fridge for at least 12 hours. This will not only help with the cake’s overall stability, but it will also make it moister.

So why just dream up a medovik? Here’s how to get cracking.

Ingredients

For the cake

  • 70g unsalted butter
  • 100g granulated sugar
  • About 3 tbsp honey. Add one more if you like honey's flavour
  • 3 large eggs 
  • 1 tsp vanilla
  • 1 tsp baking soda
  • ½ tsp salt
  • 340g all-purpose flour

For the filling

  • 500ml sour cream
  • 500ml whipping cream
  • 50g powdered sugar
  • 1 tsp vanilla

For the frosting

  • 250g mascarpone chilled
  • 125ml whipping cream
  • 100g icing sugar
  • 1 tsp vanilla

Instructions

medovik-preparation

For the cake:

  1. Line two baking trays with parchment paper. Set a double boiler filled ⅔ with water and a metal bowl over it on medium heat. Melt sugar, honey and butter in the bowl. Beat eggs and vanilla in a separate bowl and pour the mixture into the double boiler while mixing the whole time. Don't forget to preheat your oven to 400F/200C.
  2. Add flour (2 cups), baking soda and salt. Continue mixing until the dough starts to thicken and pulls away from the sides of the bowl. Mix well and then take it off the heat and add just another cup of flour (total 3 cups). 
  3. Let it cool for a few minutes, then knead it with your hands until you get smooth, pasta-like dough. It should look like a cookie dough, not a cake batter. Divide it into 8 equal parts and to avoid drying out cover them with a kitchen towel. Bake the cake layers separately on baking trays and then cut into neat circles using a 7″ (18 cm) cake pan.
  4. Using flour, dust your work surface and roll out a thin circle slightly larger than 7″ (18 cm), transfer to a parchment lined baking tray and bake for 4-5 min. Meanwhile, watch closely as the cake layers burn quickly. While the previous layer is baking, roll out the next layer. For this reason, you should have two baking trays on hand. Remove from the oven when golden brown. Cut out a circle while still hot as the layers will turn into crisp biscuits in a couple of minutes.

For the filling:

  1. Beat sour cream with whipping cream, sugar and vanilla until sugar is dissolved and it’s doubled in volume. Fill all 8 cake layers except for the top and the sides.

For the frosting:

  1. Beat cold mascarpone with icing sugar, vanilla and whip cream until stiff. Cover the sides and the top of the cake with mascarpone frosting.
Join the community
Badge
Join us for unlimited access to the very best of Fine Dining Lovers.