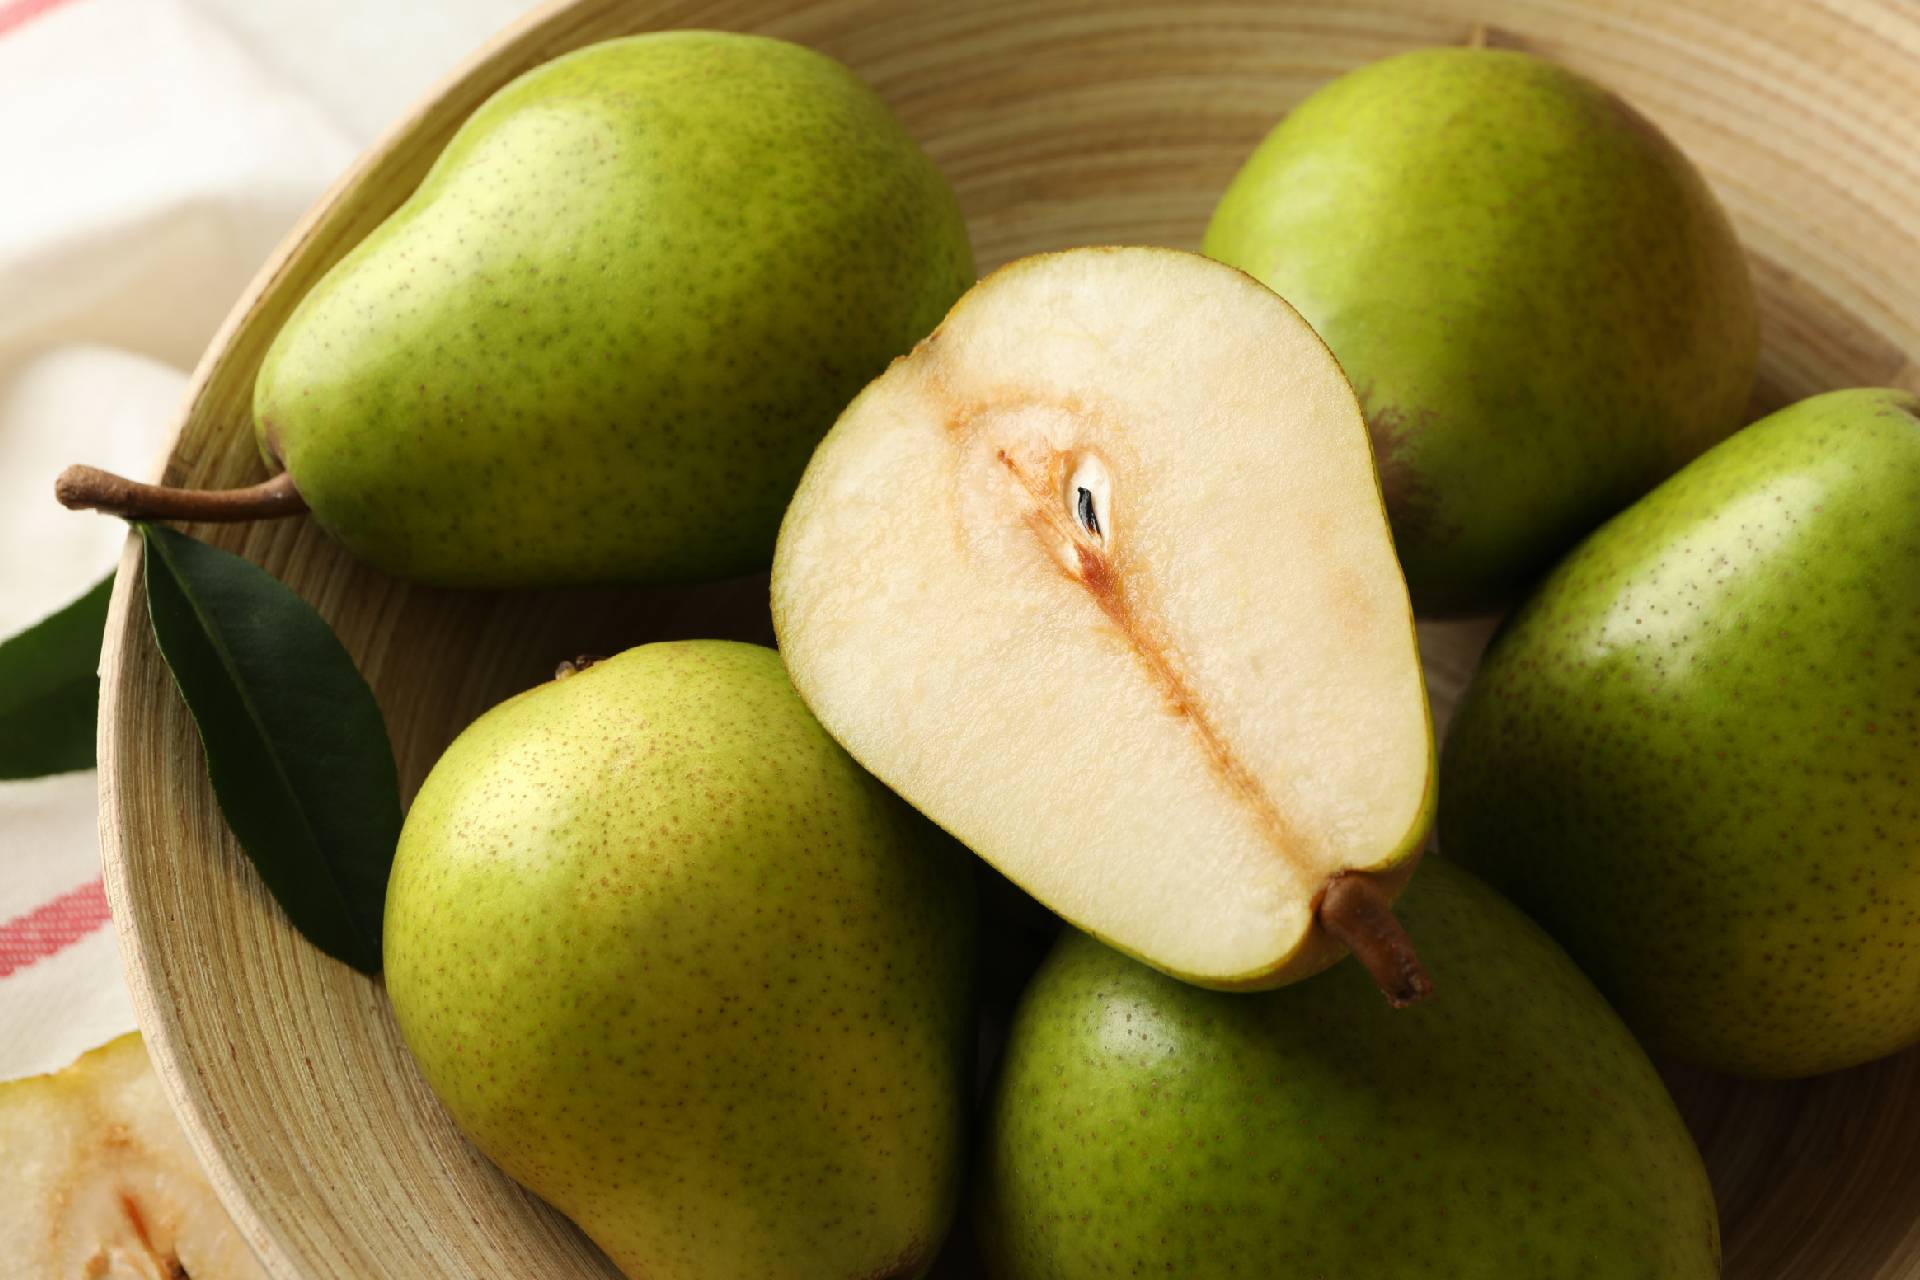
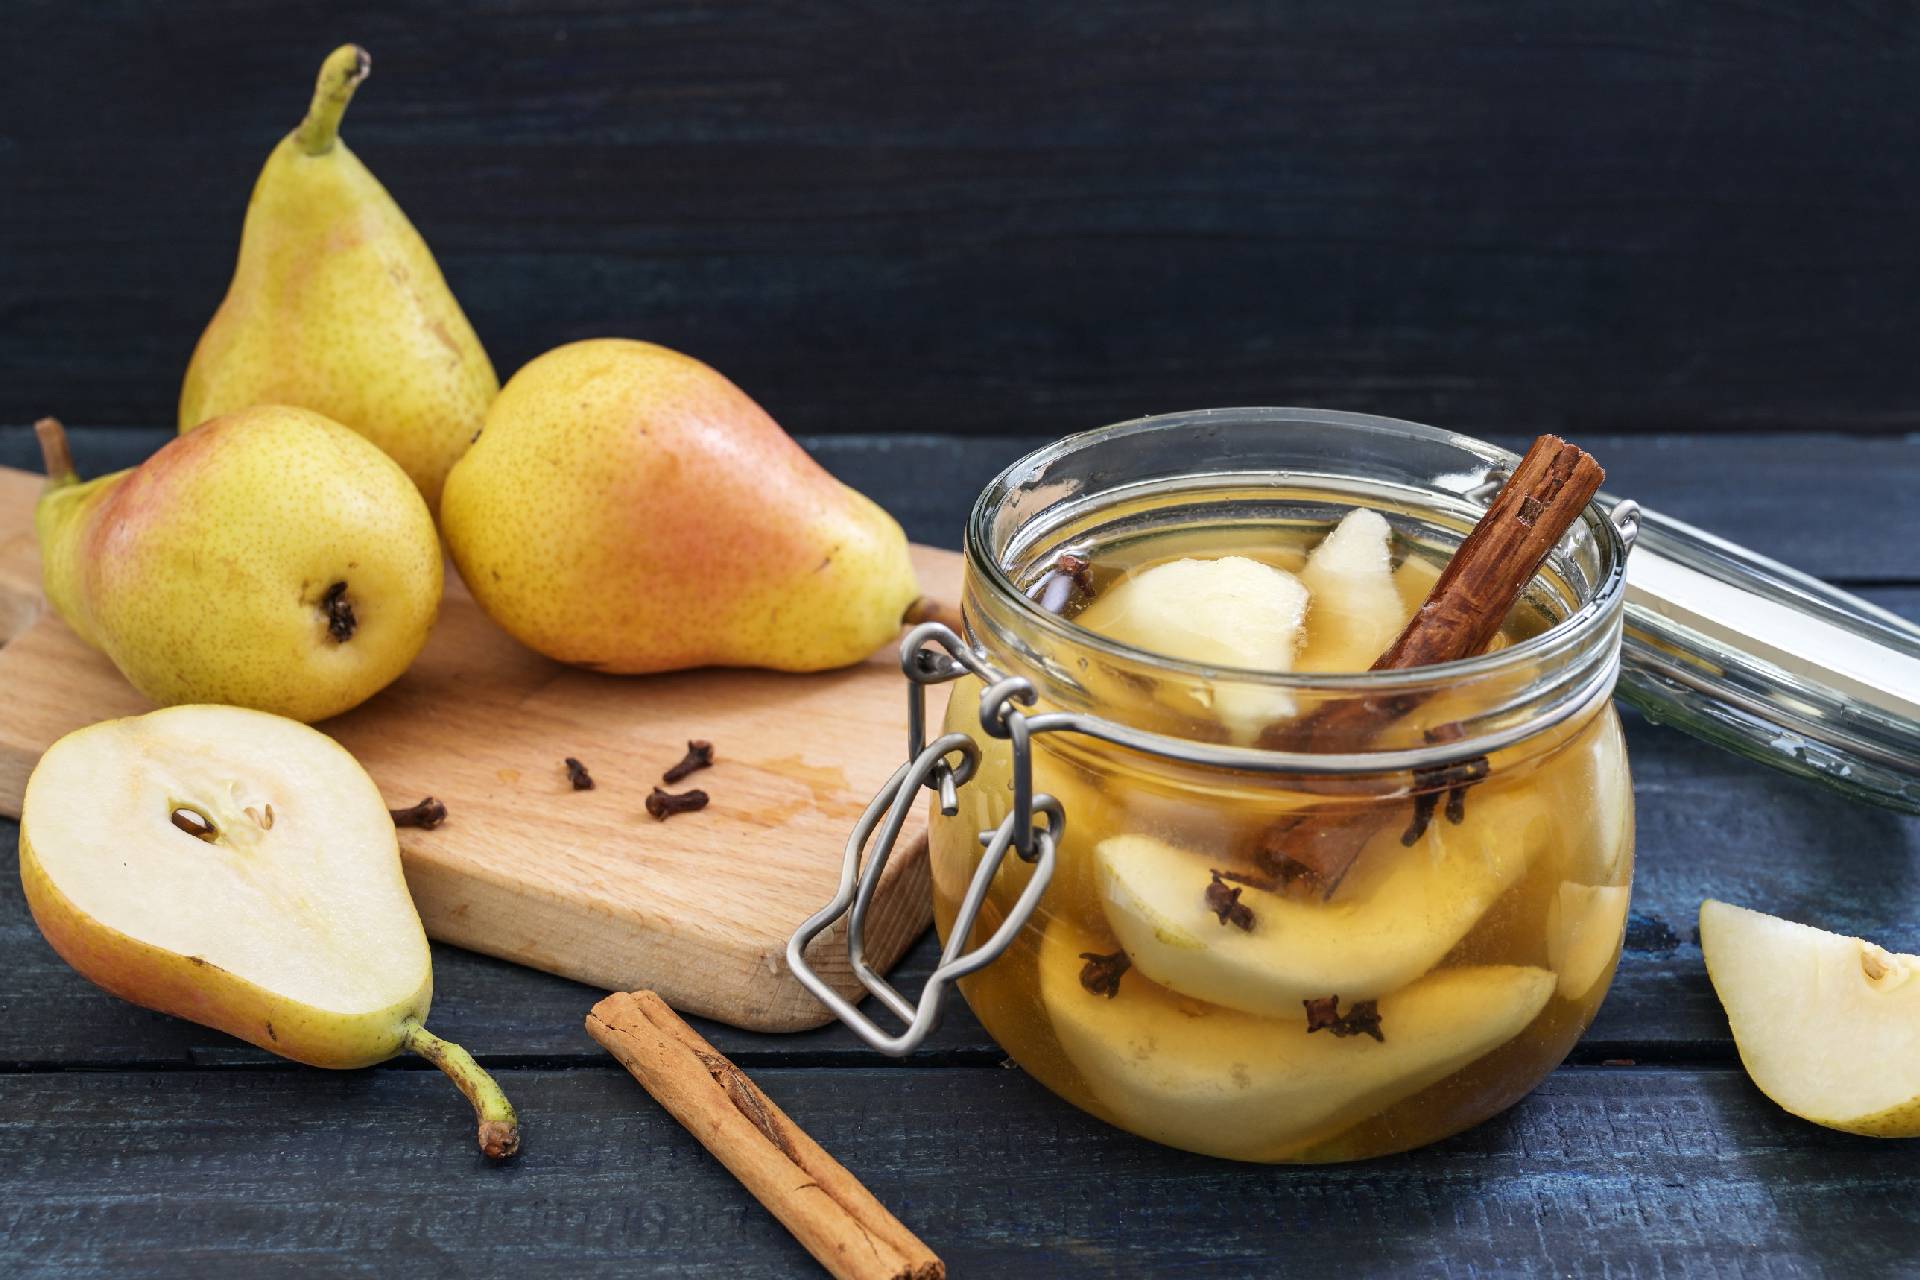
Is there anything more exquisite than a perfectly ripened pear? With soft flesh bursting with juice, a sweet, mellow flavour and fruity-floral aroma, ripe rears are a joy to eat, and they’re equally at home in sweet and savoury dishes.
They’re also a powerhouse fruit and are packed with antioxidants, plant compounds and dietary fibre. Eating them as part of a balanced diet could reduce your risk of cancer, diabetes and heart disease, as well as helping you lose weight.
Unfortunately, ripe pears are notoriously difficult to find, and sometimes it can feel like every pear in the store is either too firm or has already begun to rot. It can also be pretty difficult to tell how ripe a pear is just by looking at it. Bartlett pears will helpfully change colour from green to yellow as they ripen, but for other varieties you’ll need to check by feeling the fruit.
Because pears ripen from the inside out, the best place to check for ripeness is at the neck, where the fruit joins the stem, as this is the closest accessible part to the core. Hold your thumb and forefinger to the neck of the fruit and apply the gentlest of pressures - if the flesh gives, your pear should be ready to eat.
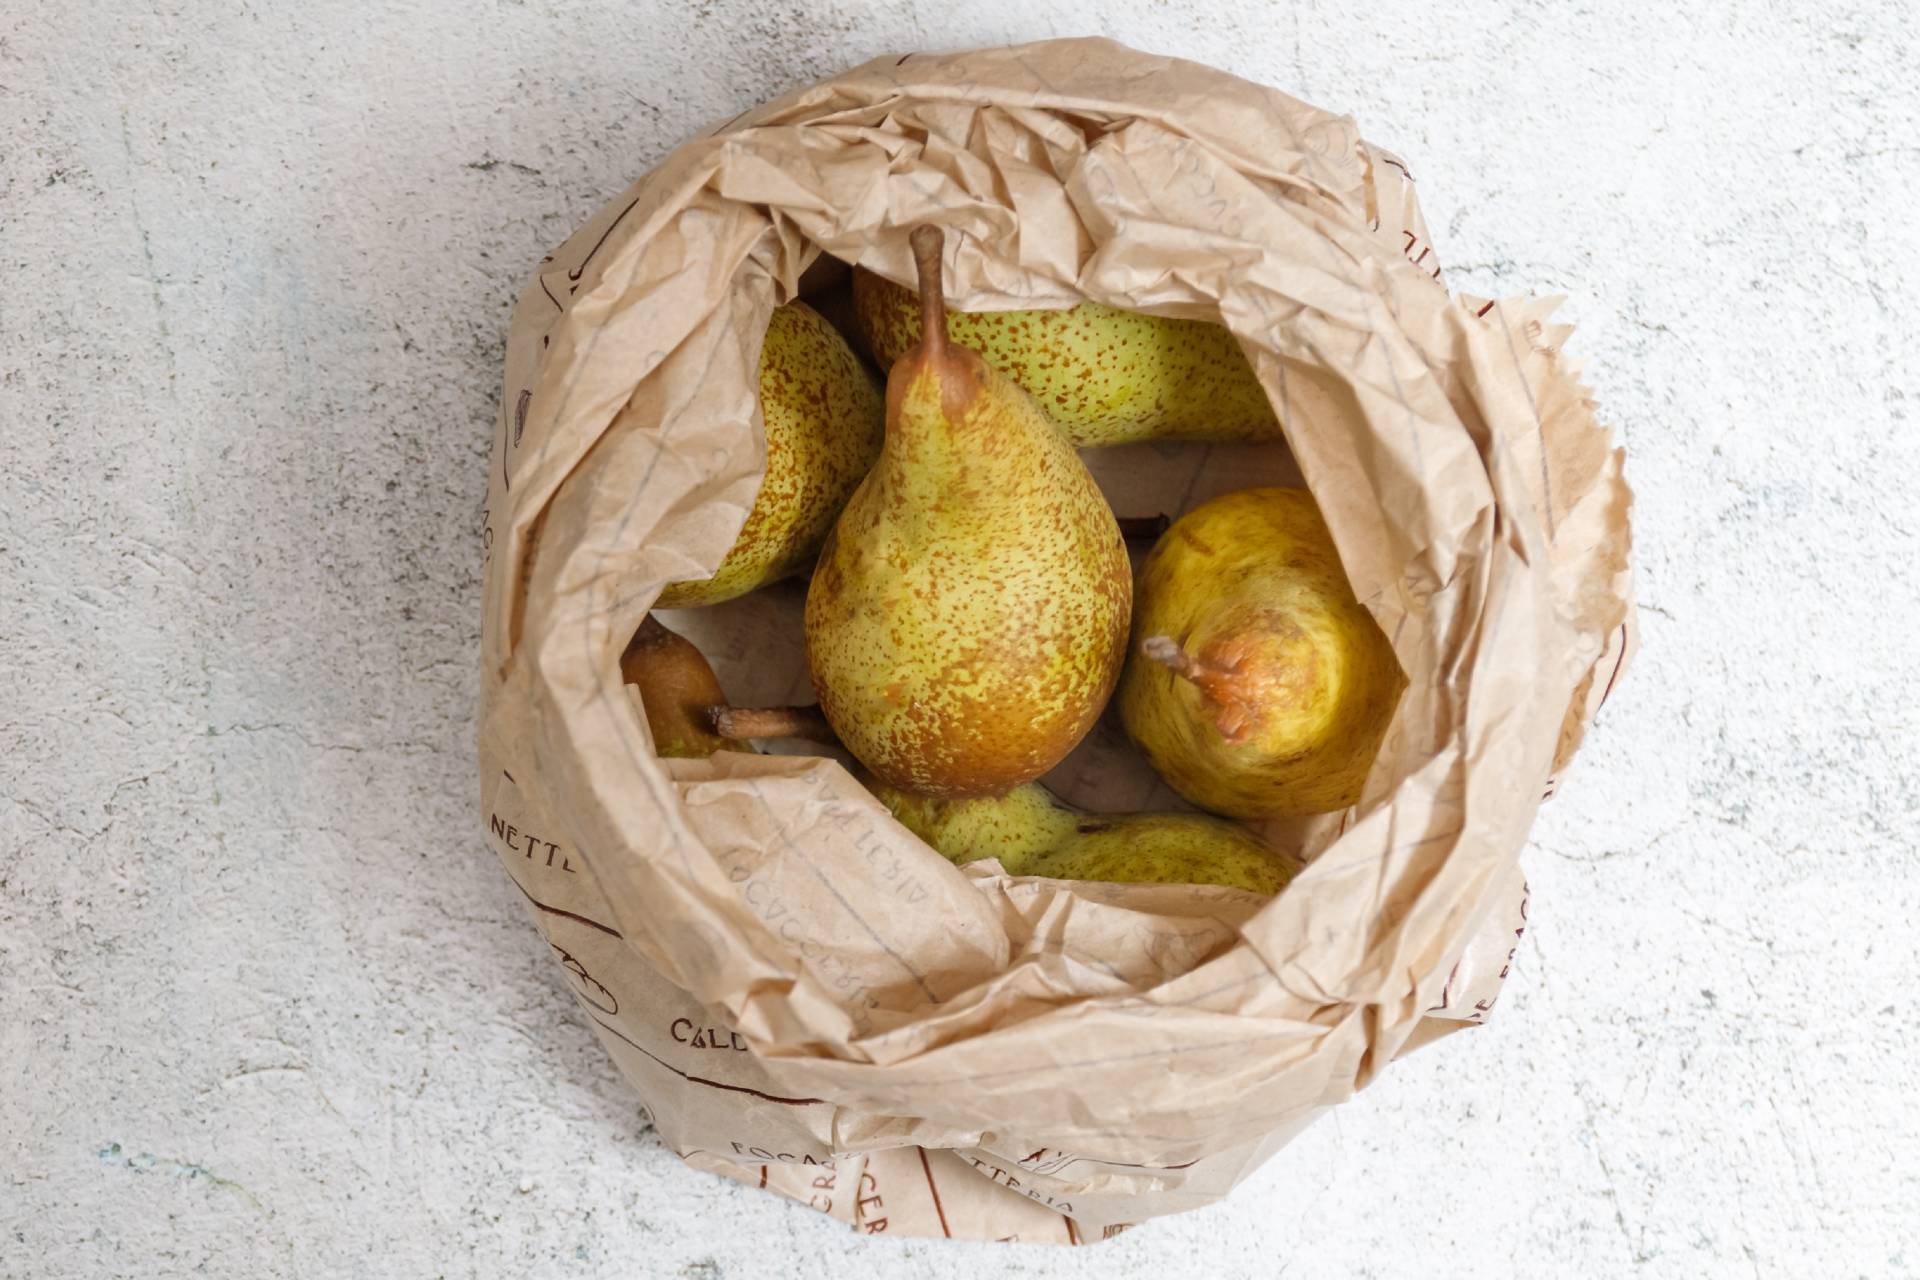
Luckily, pears continue to ripen after they’ve been picked, so you don’t need to feel every fruit in the store in search of the holy grail of pears. Unless you want to eat your pears immediately, the easiest thing to do is to buy them when they’re still slightly firm and allow them to ripen at home.
How to ripen pears

Unlike most other fruits, pears are actually better if they’re picked early and allowed to ripen later, with tree-ripened pears tending to be rather mushy and flavourless. If you’re lucky enough to have your own pear tree, or are otherwise able to pick your own, you will need to chill the pears before ripening. This is because pear trees become dormant over the winter, and need a period of cold followed by warmth to mimic winter becoming spring in order to restart the ripening process. If pears are not chilled after picking they will simply begin to rot without ripening at all.
For store-bought pears, the grower should have carried out the chilling process for you, so you can begin to ripen your pears right away. You can even ripen them at different speeds, depending on when you want them to be ready. The most straightforward method is to simply leave the pears on the kitchen counter, which should give you ripe pears in around 4-7 days, depending on how hard they were when you bought them.

If you can’t wait that long for your pear fix, you can speed up the ripening process by placing the pears inside a paper bag and folding the top over to hold the air inside. This works because pears, like apples and bananas, give off a gas called ethylene as they mature, which encourages the fruit around it to mature at an accelerated rate.
Pears stored in this way will take between 2-4 days to ripen, but if even that is too long, try adding some already-ripe apples or bananas to the bag. The more ripe a fruit is, the more ethylene it produces, so fully-ripened fruit will really give your pears a boost, ripening them in just 1-3 days. You can use any ethylene-producing fruit for this process - apples and bananas are perhaps the most common, but you can also use peaches, apricots, or even avocados.
If your pears become ready to eat before you need them, transfer them to the refrigerator to slow the ripening process down. Sometimes, despite your best efforts, one or two will go past peak ripeness, but these can still be used to add texture and sweetness to soups, smoothies and purées.
How to preserve pears

If you find yourself in the enviable position of having more pears than you can eat, there are several ways of preserving your windfall until you decide what to do with them all. They can be frozen or dehydrated, but we prefer canning them in a light syrup to keep them juicy. You can even add spices like cinnamon or cloves to the syrup to complement the natural pear flavour. To find out how, check out our handy guide to preserving pears.

Now you know how to keep your pears in peak condition, there are so many different things you can do with them. Pears are delicious as part of a temptingly sweet dessert, or in a sweet-and-savoury appetiser or main. We’ve gathered together some of our favourite recipes, from pear and roquefort quiches, to cranberry and pear crumble, in this collection of 10 sweet and savoury pear recipes you’ll love.
Pears make a great ingredient in savoury main courses, such as this duck with pears recipe that makes an impressive dinner party dish. Alternatively, for a more casual meal, this tarte flambée with pumpkin and pears is gluten free and delicious topped with toasted pumpkin seeds. Finally, an Italian comfort food classic, pears are added to risotto for an extra flavour punch in this easy vegan recipe.