History of paneer
Cheese is thought to have been made on the subcontinent as early as the Indus Valley civilisation, which lasted from 3,300 BCE to 1300 BCE, with acidic leaves, barks and berries used to curdle the milk. There is even mention of two paneer-like cheeses in the Rigveda, a sacred Hindu text written around 1,500 to 1,000 BCE, which makes it one of the oldest extant texts in any Indo-European language.
For the Aryan civilisations that followed, however, making cheese became taboo due to the sacred nature of the cow. ‘Spoiling’ the milk of this holy animal by curdling it to make cheese was considered sacrilegious, and cheese making was largely forgotten for hundreds of years,
Modern paneer dates back to the sixteenth century, when it was introduced by the Persian and Afghan rulers of the Mughal empire. This paneer was made using sheep’s and goat’s rennet, with the word ‘paneer’ coming from ‘peynir’, the generic term for cheese in the Persian and Turkish languages. The current method of making paneer is thought to have been introduced by Portuguese settlers in the seventeenth century.
You can buy paneer from your local Indian market, and these days it is available from many regular stores too. Good quality paneer should be soft and light, but ready-made varieties can be a little rubbery. If your paneer is a bit hard, simply put it in some hot water before you use it. This will soften up the cheese, and the longer you leave it, the better the texture will be.
How to make paneer
The best paneer is homemade, however, and as paneer is actually one of the simplest cheeses to make at home, it’s well worth trying to make your own. Homemade paneer has a fresh, delicate flavor you can’t get from store bought versions, and all you need to make it is some milk and some lemon juice.
When making paneer, you will need to use whole milk, as the fat is what makes the cheese. Use a full gallon to make a decent sized batch of paneer, with ¼ cup of lemon juice to curdle the milk. Pour the milk into a large pan and bring to the boil, then remove from the heat immediately, and add in the lemon juice.
Stir the pan as the curds start to form. The milk will begin to turn yellow and separate straight away. Leave for 5 to 10 minutes, then line a colander with two layers of cheesecloth and pour the mixture through. Give the curds a good rinse with cold water to cool them and get rid of any lemon residue.
Next, take the cheesecloth by the corners and wrap tightly around the curds, twisting it into a ball shape and squeezing to remove the excess liquid. Keep squeezing until you can’t extract any more liquid, then sandwich your cheesecloth full of curds between two dinner plates and weigh down the top plate with some heavy cans of food. Refrigerate for a couple of hours, and your delicious homemade paneer is ready to eat.
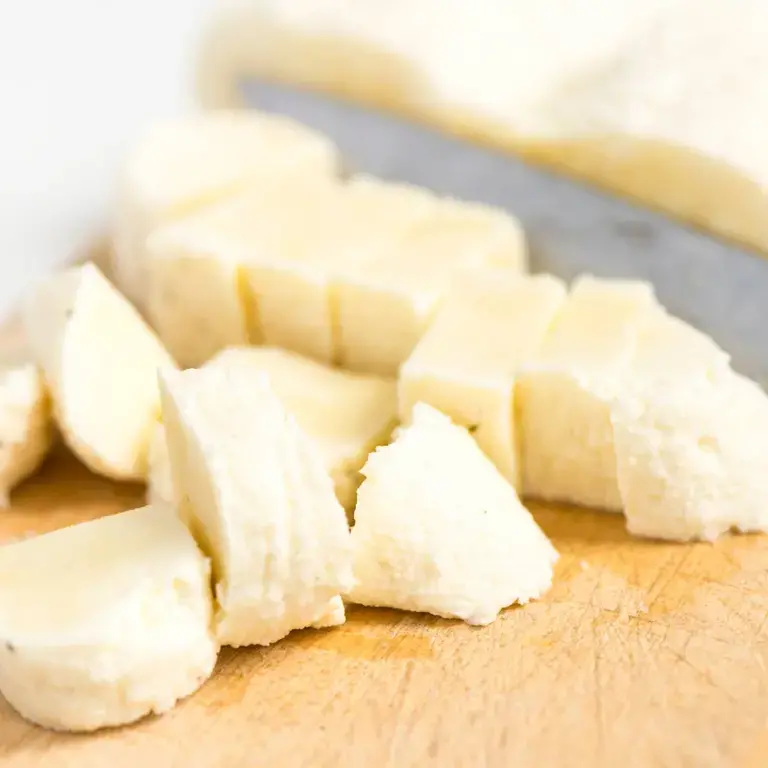
Pour away any additional liquid that has collected on the plate during refrigeration and remove the paneer from its cheesecloth cover. Cut it into cubes, and for best results begin cooking right away. If you’re not ready for more food preparation just yet, it can be refrigerated for 2 to 3 days in an airtight container.
