
If you have ever wanted to bake naturally leavened bread and wondered how to make a sourdough starter, the process is simpler than it looks: equal parts flour and water, time, and regular feedings. Over a few days, wild yeasts and bacteria take up residence, turning that mixture into a living culture you can use to make bread rise without commercial yeast. Understanding what a sourdough starter is, how to feed it, and which flours to use will help you create a strong, reliable starter you can bake with for years.
What Is a Sourdough Starter?
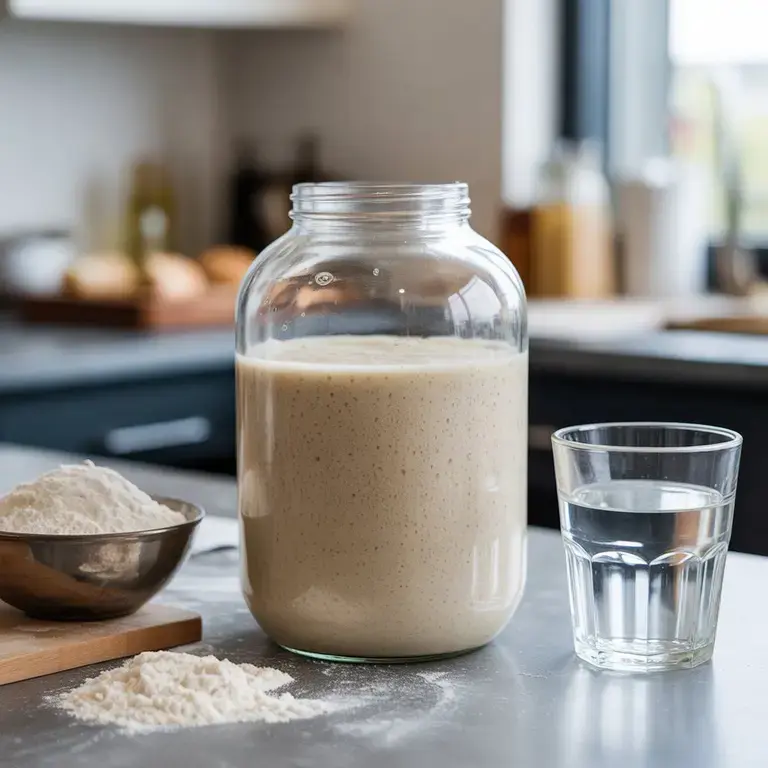
A sourdough starter is a mixture of flour and water that has been colonized by wild yeasts and lactic acid bacteria. These microorganisms are naturally present on grains, in flour, and in the environment. When you mix flour and water and refresh it regularly, you create ideal conditions for them to grow.
Over time, the starter:
- Produces carbon dioxide, which makes dough rise
- Develops organic acids, which give sourdough its tang and help preserve the bread
- Builds flavor complexity you cannot get from commercial yeast alone
When you mix a portion of active starter into fresh flour and water for bread dough, you are essentially using it as a natural leavening agent and flavor builder.
Tools and Ingredients You’ll Need
You do not need any specialized equipment to start. A few simple tools make the process more consistent and easier to repeat.
Tools
- A digital kitchen scale (highly recommended for accuracy)
- One or two clear jars or containers (about 16–20 oz, glass or food-safe plastic)
- A spoon or small spatula for mixing
- A rubber band or marker to track rise
Ingredients
- Flour: unbleached all-purpose or bread flour works well; many bakers like to start with part whole wheat or rye because these flours tend to ferment more quickly
- Water: room-temperature, ideally filtered or dechlorinated if your tap water is very heavily chlorinated
If you are wondering about the best flour for a sourdough starter, the safest choice is a mix of unbleached all-purpose or bread flour with a portion of whole grain flour (such as whole wheat or rye). The whole grain brings extra nutrients and microorganisms that help jump-start fermentation.
Step-by-Step Instructions
This is a simple, five-to-seven-day method using equal parts flour and water by weight. If you do not have a scale, you can approximate with volume, but weighing will give you more reliable results.
Day 1: Mix
- In a clean jar, combine 50 g flour and 50 g water (about ¼ cup flour and slightly less than ¼ cup water if measuring by volume).
- Stir until no dry spots remain. The mixture should be like a thick batter.
- Scrape down the sides, cover the jar loosely (lid set on top, not tightly sealed), and leave at room temperature, ideally around 70–75°F (21–24°C).
Day 2: Check and feed
- You may or may not see bubbles yet; either is normal.
- Discard about half of the mixture (down to 50 g).
- Add 25 g fresh flour + 25 g water, stir well, and mark the level on the jar.
Days 3–4: Build activity
By now, you should start seeing more bubbles and smelling a mild, tangy aroma.
Each day:
- Discard all but 50 g of starter.
- Feed with 50 g flour + 50 g water (a 1:1:1 ratio of starter:flour:water by weight).
- Stir thoroughly, scrape down the sides, cover loosely, and let sit at room temperature.
As the starter strengthens, it should begin to rise and fall predictably between feedings, often doubling in volume at its peak.
Days 5–7: Stabilize
Keep the same routine: discard down to 50 g, feed 50 g flour + 50 g water once or twice a day depending on activity and room temperature.
Signs your starter is approaching readiness:
- It at least doubles in size between feedings
- It has a pleasantly tangy, slightly yeasty smell (not harsh or putrid)
- It shows many small and medium bubbles throughout, not just on top
Once it consistently behaves this way, you are ready to shift into maintenance mode and bake with it.
Feeding and Maintenance
Once your starter is active, feeding a sourdough starter regularly keeps it healthy.
At room temperature
If you bake frequently (several times a week):
- Keep 50–100 g of starter at room temperature.
- Feed it at least once a day with equal parts flour and water by weight (for example, 50 g starter + 50 g flour + 50 g water).
- Try to feed at roughly the same time each day.
You can adjustfeeding ratios to fit your schedule and climate: warmer kitchens may require more frequent or slightly larger feedings.
In the refrigerator
If you bake less often:
- Let the starter become active at room temperature after a feeding.
- Store it in the refrigerator with a loosely fitted lid.
- Feed it about once a week: discard down to 50 g, add 50 g flour + 50 g water, let it sit at room temperature until it shows some activity, then return it to the fridge.
Before baking, it is best to take the starter out of the refrigerator and give it 1–2 room-temperature feedings until it is rising predictably again.
Common Issues and Fixes
Even with careful feeding, starters can behave unpredictably. Here are some frequent problems and how to address them.
No bubbles or very slow activity
- Possible causes: cool kitchen, low-activity flour, not enough time.
- Fixes: move the jar to a slightly warmer spot, increase the proportion of whole grain flour, continue feeding for a few more days. Many starters simply need more time.
A layer of liquid (hooch) on top
- Cause: the starter is hungry; it has exhausted its food supply.
- Fixes: pour off most of the liquid if it smells sharp, then feed as usual. Consider more frequent feedings or a higher ratio of fresh flour to starter.
Very sour or sharp smell
- Cause: imbalance of microorganisms, often because the starter has gone too long between feedings.
- Fixes: increase feeding frequency, discard more aggressively (keeping a smaller amount of old starter), and maintain a consistent schedule.
Visible mold or pink/orange streaks
- Cause: contamination or severe neglect.
- Fixes: discard the starter and start over; this is not a situation to rescue. Wash containers thoroughly before beginning again.
Patience is key. As long as there is no mold or off-color growth, most sluggish or overly acidic starters can be brought back with regular feedings and time.
When and How to Bake with It
A starter is “ripe” and ready to use when it is at or near its peak rise after feeding. For many schedules, that is about 4–8 hours after a room-temperature feeding, but timing will vary with temperature and flour.
Signs it is ready to bake with:
- It has at least doubled in volume since feeding
- The surface is slightly domed, not collapsing
- It smells pleasantly tangy and yeasty
Using starter in dough
Most sourdough formulas use a portion of active starter to build a levain (a preferment) before mixing the final dough:
- Mix a small amount of mature starter with fresh flour and water.
- Let this levain ferment until bubbly and expanded.
- Use the levain in your dough, along with additional flour, water, and salt.
From there, you will follow a specific recipe for mixing, folding, bulk fermentation, shaping, proofing, and baking. Once you have a healthy starter, you can explore a wide range of breads beyond basic sourdough, including many classic styles from around the world, and later adapt your favorite loaves into breads suited for sandwiches and everyday use.
A well-kept sourdough starter is open-ended: as long as you keep feeding it, it will keep baking for you. With a reliable routine for starting, feeding, troubleshooting, and baking, that simple mix of flour and water becomes one of the most valuable ingredients in your kitchen.